How to Make Brookies with Brownie Mix: A Comprehensive Guide
If you’re looking for a dessert that combines the chewy goodness of cookies with the fudgy richness of brownies, look no further than brookies! This delicious dessert mashup offers the best of both worlds, satisfying cravings for both treats in one bite. By using brownie mix, you can simplify the process, making brookies quick and easy to prepare, without sacrificing flavor.
This comprehensive guide will walk you through everything you need to know about making brookies with brownie mix, from the ingredients and step-by-step instructions to expert tips, variations, and storage advice. We’ll also link to related recipes to help expand your baking repertoire and provide extra internal linking opportunities for SEO optimization.
What Are Brookies?
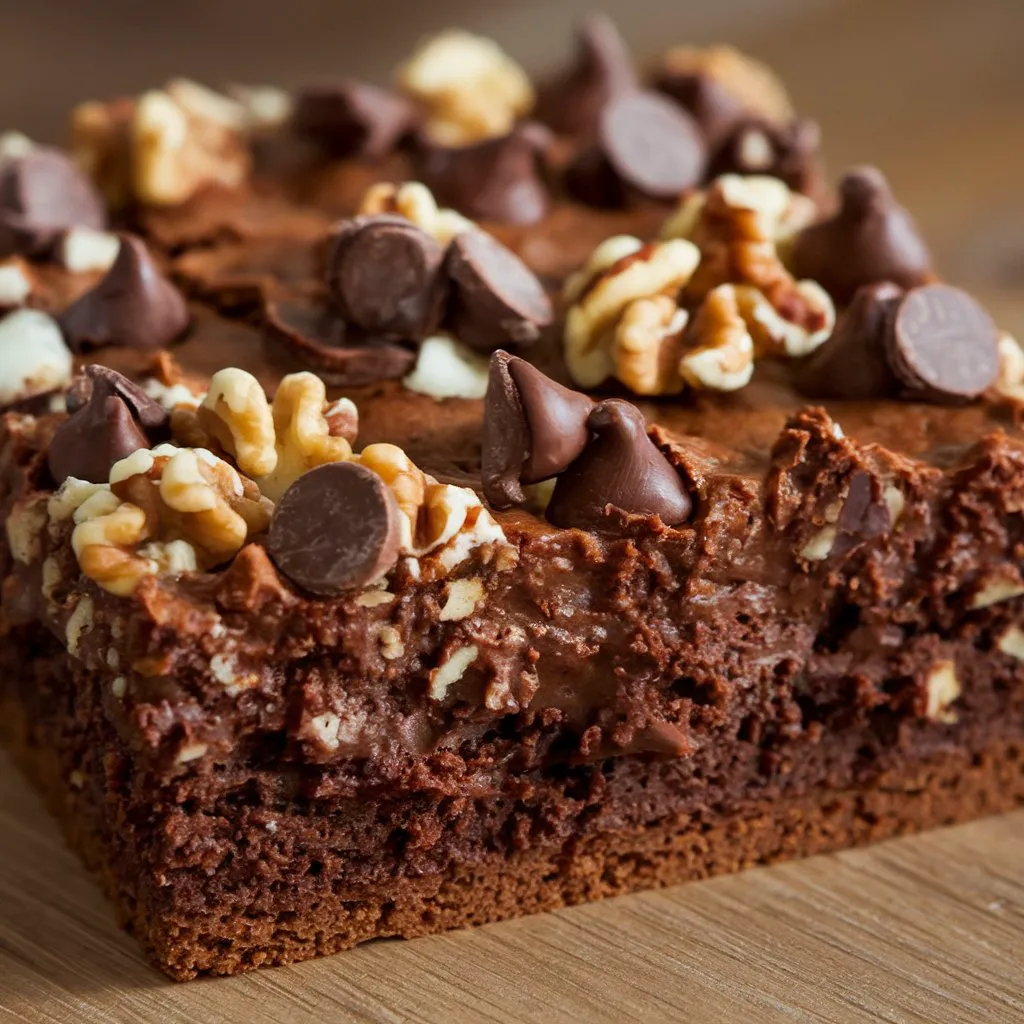
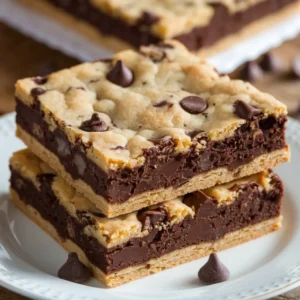
Brookies are a dessert hybrid that brings together two classic treats: brownies and cookies. Typically, they feature a base layer of brownie batter and a top layer of cookie dough, which are baked together to create a sweet, gooey, and irresistible dessert bar.
Using boxed brownie mix makes this process faster and easier, giving you the same rich, chocolatey flavor without the hassle of preparing everything from scratch. If you want to explore more classic brookie recipes, check out this ultimate brookie recipe for a homemade version.
By using boxed brownie mix, you can cut down on prep time and still create a delicious, crowd-pleasing dessert. Whether you’re new to baking or a seasoned pro, brookies are a fun and satisfying treat to make.
Ingredients for Brookies with Brownie Mix
Making brookies requires two sets of ingredients—one for the brownie layer and another for the cookie layer. Here’s everything you’ll need to get started:
For the Brownie Layer:
- 1 box brownie mix (recommended for an 8×8 or 9×9 pan)
- Eggs, oil, and water (as specified by the brownie mix instructions)
For the Cookie Layer:
- ½ cup melted butter
- ½ cup brown sugar
- ¼ cup white sugar
- 1 large egg plus 1 egg yolk
- 1 teaspoon vanilla extract
- 2 cups all-purpose flour
- ½ teaspoon baking soda
- ½ teaspoon salt
- 1 cup chocolate chips
The beauty of using brownie mix is that it takes the guesswork out of one layer, allowing you to focus on perfecting the cookie dough. If you’re looking to create the best cookie dough, check out this ultimate cookie dough recipe for expert tips on achieving the perfect texture and flavor.
Step-by-Step Guide: How to Make Brookies with Brownie Mix
Now that you’ve gathered your ingredients, let’s dive into the process of making brookies. By following these simple steps, you’ll have a delicious batch of brookies ready to enjoy in no time.
1. Prepare the Brownie Layer
- Preheat the oven: Preheat your oven to 350°F (175°C) and grease a 9×13-inch pan.
- Prepare the brownie mix: Follow the instructions on the brownie mix package. If the mix is intended for an 8×8 or 9×9 pan, you’ll spread it thinner in a 9×13 pan, which is ideal for brookies.
- Pro Tip: Using a brownie mix meant for a smaller pan ensures that the brownie layer stays fudgy and bakes evenly with the cookie layer.
- Pour the brownie batter: Spread the brownie batter evenly in the greased pan.
2. Prepare the Cookie Layer
- Melt the butter: In a medium bowl, melt the butter, then add the brown sugar and white sugar and mix until smooth.
- Add the eggs and vanilla: Mix in the egg, egg yolk, and vanilla extract until well combined.
- Add the dry ingredients: In a separate bowl, whisk together the flour, baking soda, and salt. Gradually add the dry ingredients to the wet mixture, stirring just until combined.
- Fold in the chocolate chips: Finally, fold in the chocolate chips to the cookie dough.
3. Layer the Cookie Dough Over the Brownie Batter
- Drop spoonfuls of cookie dough: Using a spoon or your hands, drop spoonfuls of cookie dough over the brownie batter. It’s okay if some of the brownie batter is visible—this will create the signature brookie look once baked.
- Evenly distribute the dough: Spread the dough evenly across the brownie layer to ensure each piece has a balanced mix of both layers.
4. Bake the Brookies
- Bake the brookies: Place the pan in the preheated oven and bake for 25-30 minutes.
- Pro Tip: Keep an eye on the brookies during the last few minutes of baking to ensure the cookie layer turns golden while the brownie layer remains fudgy.
- Test for doneness: Insert a toothpick into the center of the brookies. The toothpick should come out with moist crumbs for the ideal texture.
5. Cool and Serve
- Cool the brookies: Let the brookies cool completely in the pan before cutting them into squares. This allows the layers to set properly and makes slicing easier.
- Serve and enjoy: Once cooled, cut into squares and serve as is, or add a scoop of vanilla ice cream for an extra indulgent dessert.
Tips for Perfect Brookies
While brookies are relatively easy to make, a few expert tips can help you take your brookie game to the next level. Here’s how to ensure your brookies come out perfect every time:
1. Choose the Right Brownie Mix
Using the right brownie mix is crucial. For best results, choose a mix that is intended for an 8×8 or 9×9 pan. Baking this smaller batch in a larger 9×13 pan creates a thinner brownie layer, which ensures even baking alongside the cookie layer. You want the brownie layer to be rich and fudgy but not too thick.
2. Don’t Overbake
Brookies are best when they’re slightly underbaked in the center, giving the brownie layer a fudgy texture. Keep a close eye on the brookies during the final 5 minutes of baking, and test for doneness using a toothpick. The cookie layer should be golden and set, while the brownie layer remains slightly gooey.
3. Use Foil for Easy Removal
For easy removal and clean-up, line the pan with aluminum foil, leaving an overhang on the sides. Once the brookies have cooled, you can lift the entire batch out of the pan using the foil, making it easier to cut and serve.
For more expert baking tips, you can also explore how to store baked goods to keep your desserts fresh and flavorful.
Fun Brookie Variations
Brookies are highly customizable, allowing you to get creative with flavors and add-ins. Here are some fun brookie variations to try:
1. Peanut Butter Brookies
For a classic flavor combo, add peanut butter chips to the cookie dough layer or swirl peanut butter into the brownie batter. The creamy, nutty taste of peanut butter pairs perfectly with the rich chocolate.
2. S’mores Brookies
Take your brookies to the next level with a s’mores twist! Layer graham crackers between the brownie layer and the cookie layer, then sprinkle mini marshmallows on top during the last five minutes of baking. The marshmallows will toast and melt, giving you that iconic campfire flavor.
3. Nutty Brookies
If you love the crunch of nuts in your desserts, fold in chopped pecans, walnuts, or almonds into the cookie dough layer. You can also sprinkle some on top before baking for an extra crunchy texture.
4. Gluten-Free Brookies
For a gluten-free version of this recipe, simply use a gluten-free brownie mix and swap out the all-purpose flour in the cookie layer with a gluten-free flour blend. This variation is perfect for those with gluten sensitivities, ensuring everyone can enjoy this delicious treat.
5. Vegan Brookies
To make vegan brookies, replace the eggs in both layers with a plant-based alternative, such as flax eggs (1 tablespoon ground flaxseed mixed with 3 tablespoons water per egg). Use vegan butter and choose a dairy-free brownie mix to complete the recipe.
How to Store Brookies
Brookies are best enjoyed fresh, but with proper storage, you can keep them soft and chewy for several days. Here’s how to store them to maintain their flavor and texture:
At Room Temperature:
- Store brookies in an airtight container at room temperature for up to 4 days.
- To keep them soft, place a slice of white bread inside the container. The bread will absorb moisture and prevent the brookies from drying out.
Freezing Brookies:
- Brookies freeze well and can be stored for up to 3 months. To freeze them, wrap each square individually in plastic wrap, then place the wrapped pieces in a freezer-safe container or bag.
- When you’re ready to enjoy them, let the brookies thaw at room temperature for 30 minutes or heat them in the microwave for a few seconds.
For more tips on freezing and preserving baked goods, check out this guide on how to store baked goods to ensure your treats stay fresh.
Frequently Asked Questions (FAQs)
1. Can I use any type of brownie mix?
Yes! While any boxed brownie mix will work, it’s best to use a mix designed for an 8×8 or 9×9 pan to ensure the brownie layer bakes evenly in a 9×13 pan.
2. Can I freeze brookies?
Absolutely! Brookies freeze exceptionally well. Just make sure to wrap each piece in plastic wrap before storing them in an airtight container. They can be frozen for up to 3 months.
3. Do I need to make homemade cookie dough?
While homemade cookie dough gives the best texture and flavor, you can also use pre-made cookie dough for convenience. Just spread it evenly over the brownie layer and bake as directed.
4. How do I know when my brookies are done?
To ensure your brookies are baked perfectly, insert a toothpick into the center. It should come out with moist crumbs rather than raw batter. The cookie layer should be golden, while the brownie layer remains fudgy.
5. Can I add extra ingredients to the brownie layer?
Yes, feel free to get creative! Add-ins like chocolate chips, nuts, or even a swirl of caramel can elevate the flavor of the brownie layer.
Conclusion
Brookies made with brownie mix are an easy and delicious way to enjoy the best of both cookies and brownies. Whether you’re making a classic batch or trying out fun variations like peanut butter brookies or s’mores brookies, this dessert is sure to impress your family and friends.
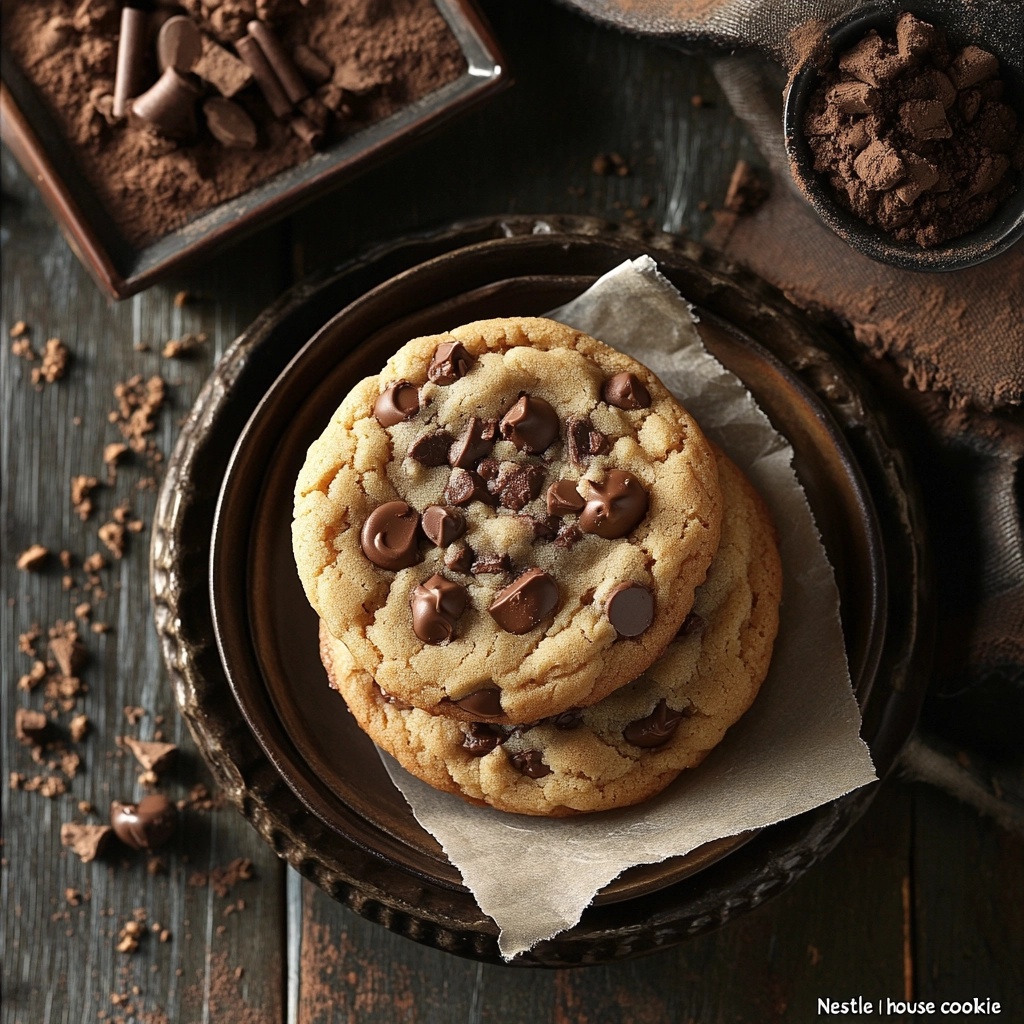
With just a few simple ingredients and steps, you can create a decadent treat that’s perfect for any occasion. And with proper storage, you can enjoy brookies for days to come. Looking for more sweet treat inspiration? Check out this Nestle Chocolate Chip Cookie Recipe to continue expanding your baking skills.
Happy baking!

