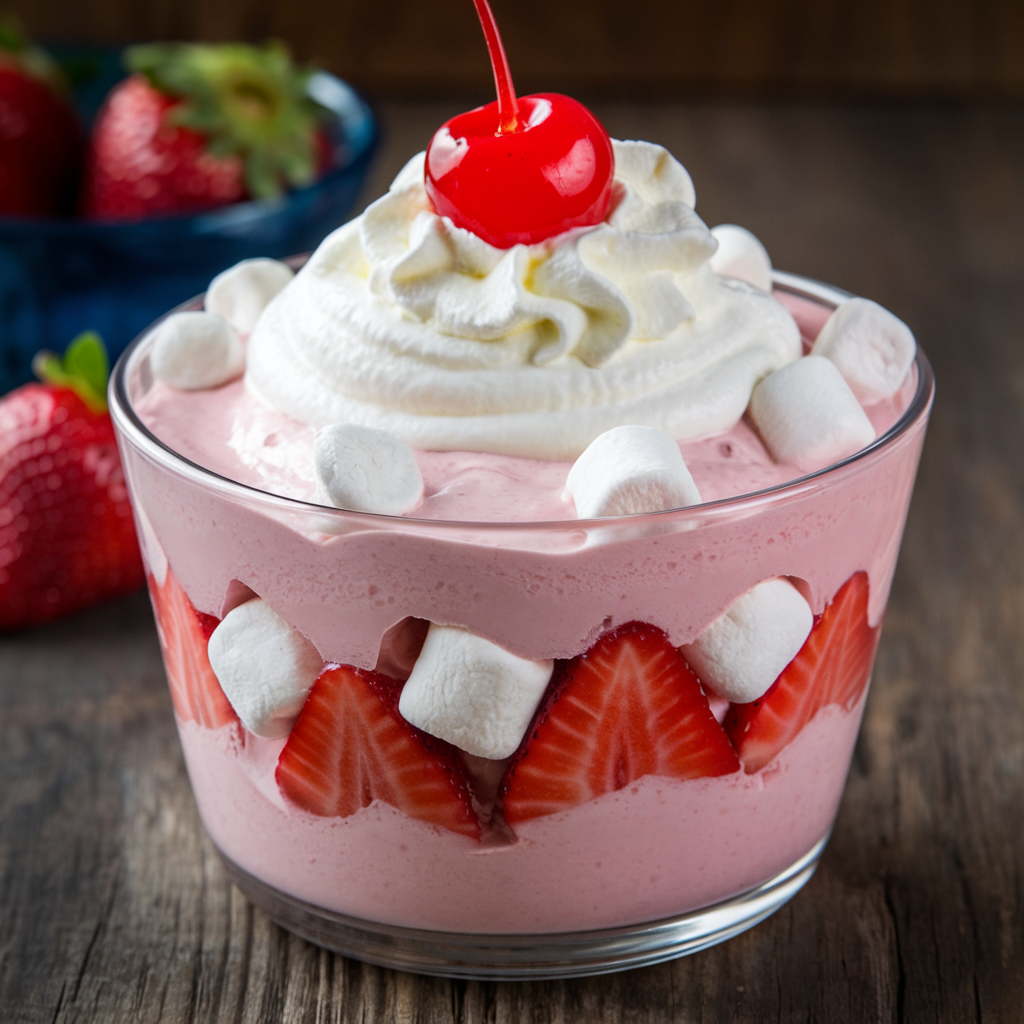
How to Make Ice Cream Using a Cuisinart Ice Cream Maker: A Complete Step-by-Step Guide
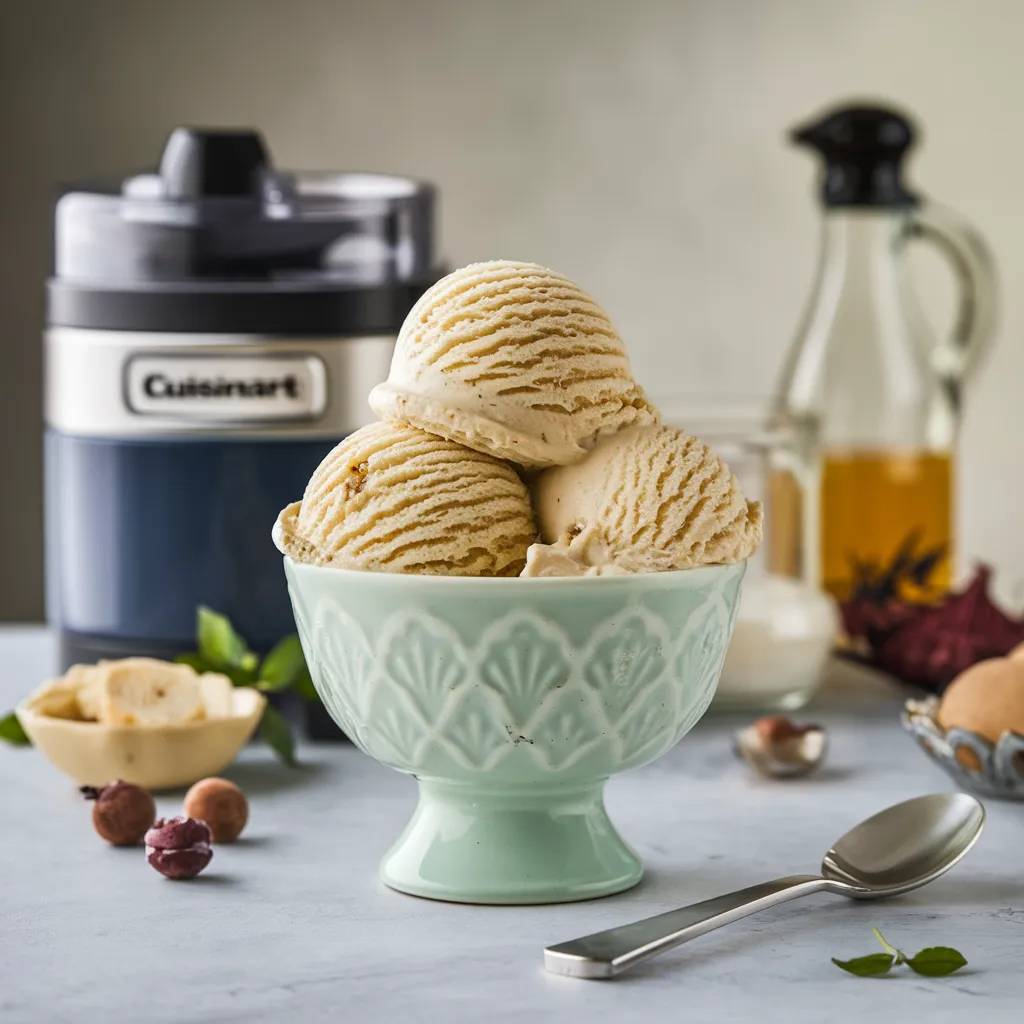
Making homemade ice cream with a Cuisinart ice cream maker is an enjoyable and rewarding process that lets you customize flavors, control ingredients, and indulge in a rich, creamy dessert from the comfort of your kitchen. Whether you’re a beginner or an experienced ice cream maker, using a Cuisinart gives you the tools to create perfect frozen treats every time. In this in-depth guide, we’ll cover everything you need to know about using a Cuisinart ice cream maker, from assembly to advanced techniques, plus tips for troubleshooting common issues.
Why Choose a Cuisinart Ice Cream Maker?
Homemade ice cream has many benefits, including the ability to control the quality of ingredients and avoid preservatives. Using a Cuisinart ice cream maker offers consistency, ease of use, and versatility. Whether you’re making a simple vanilla ice cream or experimenting with vegan alternatives, your Cuisinart ensures the process is smooth and efficient. And if you want to achieve the perfect ice cream texture, you can read these expert freezing tips to help optimize your freezing techniques.
1. Understanding the Components of a Cuisinart Ice Cream Maker
Before diving into the process of making ice cream, it’s important to understand the parts of the Cuisinart ice cream maker and how each component functions.
Key Components:
- Freezer Bowl: The bowl must be frozen solid for 12–24 hours before use. It contains a cooling liquid inside its walls that helps freeze the mixture while it churns.
- Mixing Paddle: The paddle stirs the ice cream mixture continuously, ensuring air is incorporated for a light and creamy texture.
- Motor Base: This powers the paddle and keeps it moving while the ice cream is being churned.
- Lid with Spout: Allows you to pour the mixture into the bowl and add mix-ins like chocolate chips or fruit without stopping the machine.
Understanding how these components work together will help you create smooth and creamy ice cream consistently.
2. Freezing the Bowl for Best Results
Properly freezing the freezer bowl is essential for creating smooth, creamy ice cream. If the bowl isn’t fully frozen, the ice cream will not freeze properly, resulting in a runny consistency.
Freezing Tips:
- Freeze the bowl for at least 12–24 hours in the coldest part of your freezer.
- There should be no liquid sloshing inside the bowl when it’s fully frozen. If you hear liquid, it’s not frozen enough.
- Keep the bowl stored in the freezer at all times so it’s always ready for when you want to make ice cream.
If you’re experiencing issues with ice cream texture, freezing improperly, or forming ice crystals, check out these freezing tips to fine-tune your technique.
3. Preparing the Ice Cream Base: Classic Vanilla Recipe
The base of your ice cream is critical to its flavor and texture. A good base creates the foundation for any flavor combination. Below is a basic vanilla ice cream recipe that you can modify for other flavors.
Ingredients:
- 2 cups whole milk
- 1 ½ cups sugar
- 4 cups heavy cream
- 2 teaspoons vanilla extract
Instructions:
- Whisk the milk and sugar in a large bowl until the sugar is completely dissolved. The key to a smooth texture is ensuring the sugar dissolves properly.
- Stir in the heavy cream and vanilla extract until well combined. The high-fat content in the cream helps create a rich texture.
- Chill the mixture in the refrigerator for at least 2 hours, preferably overnight. The colder the base, the quicker and more evenly it will freeze during churning.
For a dairy-free or vegan alternative, you can substitute the whole milk and heavy cream with coconut milk or almond milk. For an excellent vegan recipe, check out this vegan ice cream recipe that delivers rich, creamy results without dairy.
4. Assembling the Cuisinart Ice Cream Maker
Once your ice cream base is chilled and your freezer bowl is frozen, it’s time to assemble your Cuisinart ice cream maker. Proper assembly ensures your machine will churn smoothly, leading to a creamy consistency.
Steps for Assembly:
- Remove the freezer bowl from the freezer and place it securely on the motor base.
- Insert the mixing paddle into the center of the bowl.
- Attach the lid with spout to the bowl. This spout allows you to add your mixture and any additional ingredients without stopping the churning process.
- Turn on the machine before pouring in the ice cream base. Starting the machine first ensures that the mixture begins to churn immediately, preventing the mixture from freezing too quickly to the sides of the bowl.
By following these steps, you’ll be set up for a successful ice cream-making experience with the correct assembly.
5. Churning the Ice Cream: How to Get the Perfect Texture
With the machine running and your base ready, it’s time to churn the ice cream. The process typically takes around 20–25 minutes, depending on the texture you want.
Steps for Churning:
- Pour the chilled ice cream base into the freezer bowl through the spout while the machine is running.
- Allow the machine to churn for 20–25 minutes, or until the mixture thickens to a soft-serve consistency.
- If you prefer a firmer texture, transfer the ice cream to an airtight container and place it in the freezer for an additional 2–3 hours.
Tips for Perfect Consistency:
- Soft-serve texture: You can enjoy your ice cream immediately after churning if you prefer a soft texture.
- Firmer ice cream: For a more scoopable consistency, let the ice cream harden in the freezer for a few hours.
- Avoid over-churning: Over-churning can lead to a grainy texture, so be sure to monitor the consistency closely.
6. Adding Mix-ins: Customizing Your Ice Cream
One of the best things about making homemade ice cream is that you can personalize it with mix-ins such as chocolate chips, cookie crumbles, nuts, or fruit. Adding mix-ins at the right time ensures they’re evenly distributed without sinking to the bottom.
When to Add Mix-ins:
- Add mix-ins during the last 5 minutes of churning to allow for even distribution without interrupting the freezing process.
You can also get creative with layers and swirls, adding ribbons of caramel, fudge, or fruit puree for added texture and flavor.
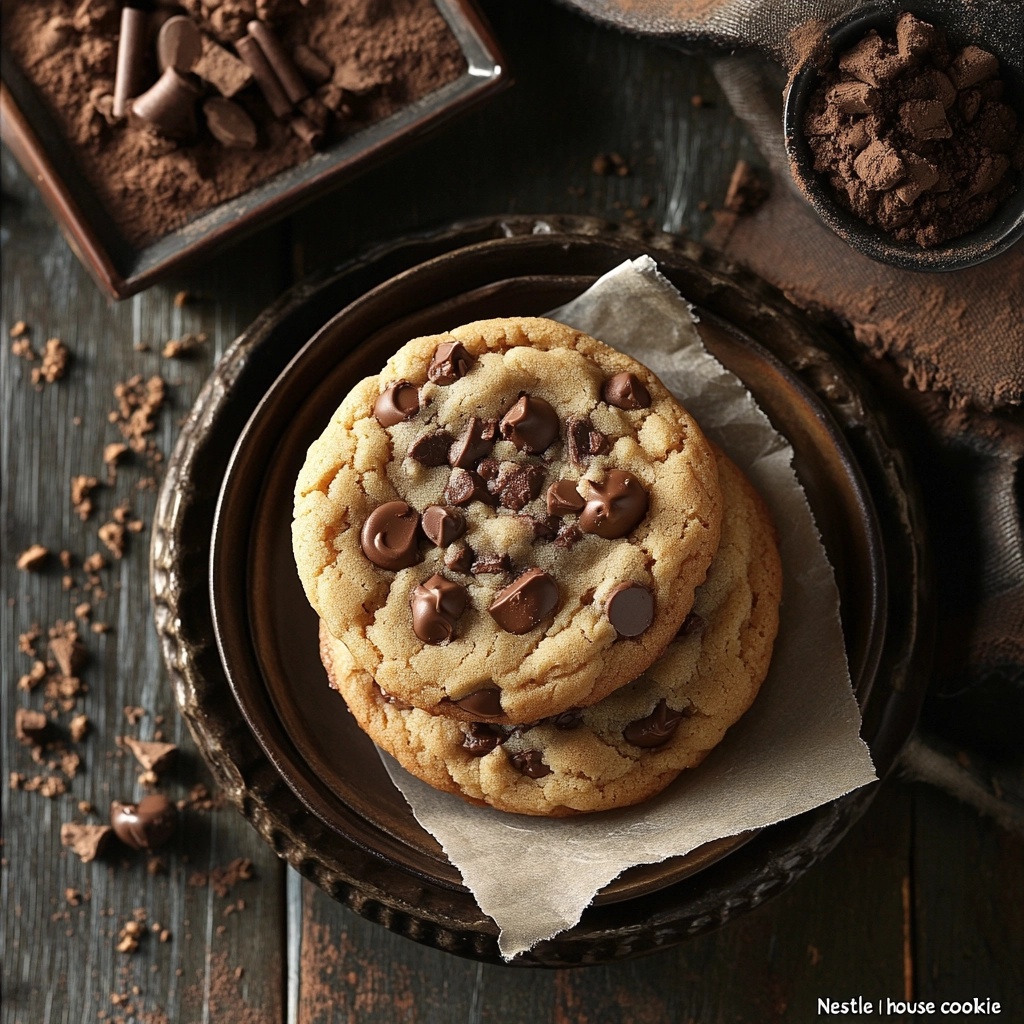
Looking for a dessert pairing? Try serving your ice cream with these delicious Brookies, a perfect combination of brownies and cookies.
7. Storing Homemade Ice Cream
Storing your homemade ice cream properly is essential to preserving its creamy texture. Ice cream that is not stored correctly can develop ice crystals and become too hard to scoop.
Storage Tips:
- Transfer the ice cream to a shallow, airtight container for even freezing.
- Press a piece of plastic wrap directly onto the surface of the ice cream to prevent ice crystals from forming.
- Store the container in the coldest part of your freezer for the best results. Homemade ice cream is best consumed within 1–2 weeks for optimal texture and flavor.
For more information on the best containers for homemade ice cream, you can refer to this helpful guide on ice cream storage containers from The Kitchn.
8. Cleaning and Maintaining Your Cuisinart Ice Cream Maker
Proper cleaning and maintenance of your Cuisinart ice cream maker will ensure it continues to perform well and deliver smooth ice cream with every batch.
Cleaning Instructions:
- Unplug the machine and disassemble all parts.
- Hand wash the freezer bowl, mixing paddle, and lid using warm, soapy water. Be gentle with the freezer bowl, as abrasive cleaners can damage its surface.
- Dry all parts thoroughly before storing, especially the freezer bowl, to prevent any moisture from freezing and affecting your next batch.
Maintaining your machine correctly will extend its life and help you create consistently perfect ice cream.
9. Advanced Techniques for Making Ice Cream
Once you’ve mastered the basics, it’s time to experiment with more advanced ice cream-making techniques. Here are a few ideas to take your ice cream to the next level:
Swirls and Ribbons:
- Add ribbons of caramel, fudge, or fruit puree during the last few minutes of churning or after transferring the ice cream to the storage container. Use a spoon or spatula to gently fold the swirl into the ice cream for a marbled effect.
Layered Ice Cream:
- For a visually appealing treat, alternate between different ice cream flavors when transferring the ice cream to a container. Each scoop will reveal different layers of flavor, adding complexity and excitement to every bite.
Vegan and Dairy-Free Ice Cream:
- Using non-dairy alternatives like coconut milk, almond milk, or oat milk allows you to make rich, creamy vegan ice cream. You can also experiment with cashew cream or soy milk for different textures.
For more advanced tips on making dairy-free ice cream, check out this vegan ice cream recipe.
10. Frequently Asked Questions (FAQs)
How long does it take to make ice cream in a Cuisinart ice cream maker?
It takes approximately 20–30 minutes to churn the ice cream to a soft-serve consistency. For a firmer texture, freeze the ice cream for an additional 2–3 hours after churning.
Why isn’t my ice cream freezing properly?
The most common reason is that the freezer bowl wasn’t frozen long enough. Ensure the bowl is frozen for at least 12–24 hours before use. Additionally, ensure that your ice cream base is chilled before adding it to the machine.
Can I make other frozen desserts in a Cuisinart ice cream maker?
Yes! You can also make sorbet, gelato, and frozen yogurt using the same machine. Simply adjust the ingredients and the churning process to suit each dessert.
11. Troubleshooting Common Ice Cream-Making Issues
Ice Cream Not Freezing Properly:
- If your ice cream isn’t freezing as expected, ensure that the freezer bowl was frozen for the full 12–24 hours. The base mixture also needs to be sufficiently cold before churning.
Grainy Texture:
- Grainy ice cream is often caused by over-churning or using too much sugar. Be mindful of the churning time and measure ingredients carefully.
Ice Cream Too Hard:
- If the ice cream becomes too hard in the freezer, allow it to sit at room temperature for 5–10 minutes before serving to soften.
12. Conclusion: Time to Start Churning!
Making homemade ice cream with a Cuisinart ice cream maker is a fun, creative, and rewarding process. Whether you’re a beginner or a pro, following these steps ensures delicious results every time. From selecting the perfect base to experimenting with mix-ins and advanced techniques, the possibilities are endless. And for an extra indulgence, try pairing your ice cream with Pumpkin Banana Loaf or these rich Brookies for a decadent dessert.
Now that you have all the tools and tips for making ice cream, it’s time to start churning and enjoy your delicious homemade creations!

