How to Use a Cuisinart Ice Cream Maker: The Complete Guide
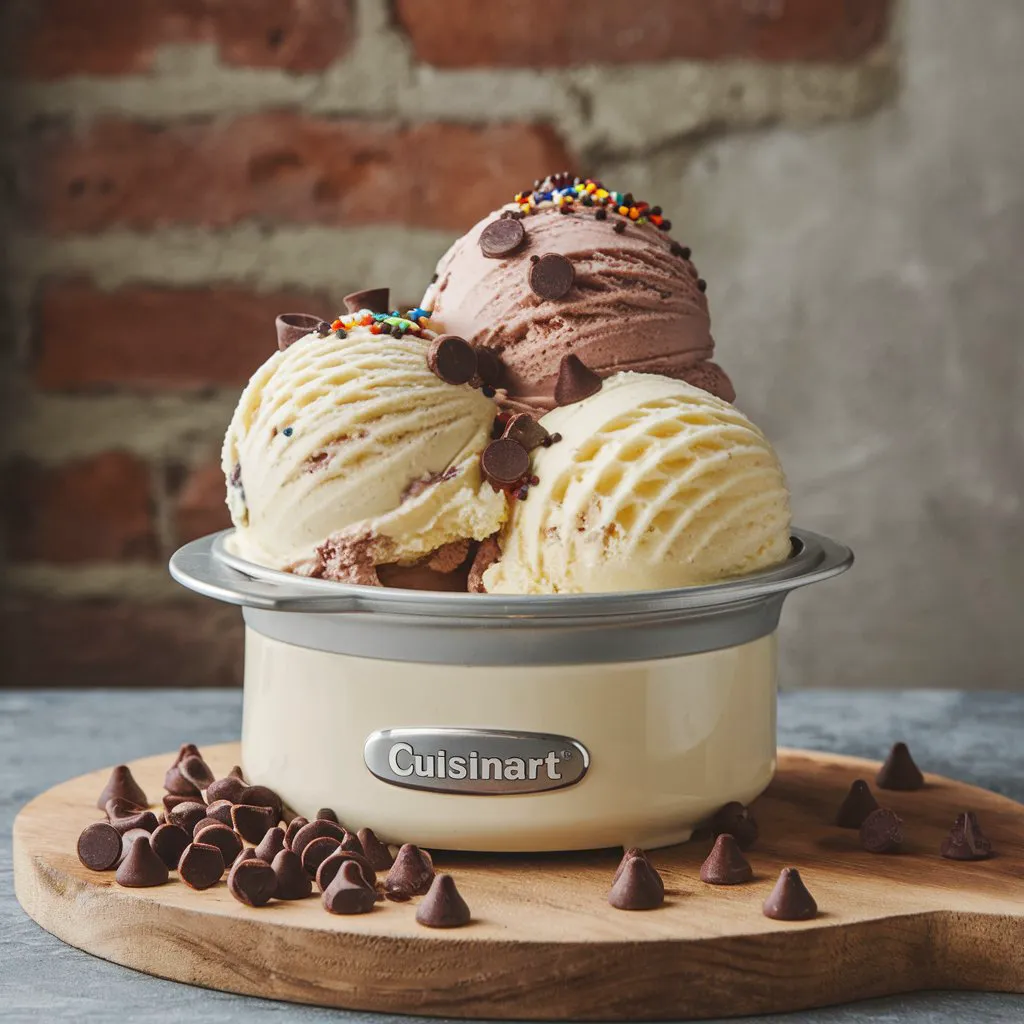
Making homemade ice cream with a Cuisinart ice cream maker is a fun and rewarding process that anyone can master. This versatile machine makes it easy to create everything from classic vanilla ice cream to creative flavors like fruit sorbet or even dairy-free ice cream. If you’re new to making ice cream or looking to improve your technique, this guide will help you understand every aspect of the process.
In this article, we’ll walk you through everything you need to know about using a Cuisinart ice cream maker, from assembling the machine to crafting the perfect base. We’ll also cover advanced techniques, FAQs, and some common troubleshooting tips. By the end, you’ll be ready to churn out delicious frozen treats at home.
For a delicious dessert pairing, consider baking a Pumpkin Banana Loaf to enjoy with your homemade ice cream!
1. Understanding Your Cuisinart Ice Cream Maker
To begin, it’s important to familiarize yourself with the various components of your Cuisinart ice cream maker. Knowing how each part works will ensure you can make ice cream with ease.
Key Components:
- Freezer Bowl: This bowl needs to be completely frozen (for 12–24 hours) before use. It contains a liquid coolant that allows the mixture to freeze while it’s churned.
- Mixing Paddle: This attachment stirs the ice cream mixture, ensuring even freezing and incorporating air for a light, creamy texture.
- Motor Base: Powers the paddle, keeping it in constant motion as your ice cream freezes.
- Lid with Spout: Allows you to add ingredients, such as mix-ins, without stopping the churning process.
Understanding how these parts interact is crucial to achieving a smooth, creamy texture for your ice cream.
2. Freezing the Freezer Bowl
Freezing the bowl properly is one of the most important steps in making ice cream. The freezer bowl needs to be frozen for at least 12–24 hours before use to ensure that the ice cream mixture freezes effectively during the churning process.
Tips for Freezing the Bowl:
- Store the bowl in the coldest part of your freezer for best results.
- You’ll know the bowl is frozen when you no longer hear liquid sloshing inside.
- Tip: Keep the freezer bowl stored in your freezer between uses so it’s always ready when you need it.
To take your ice cream to the next level, you can pair it with these delicious Muddy Buddies, which provide a crunchy, sweet contrast to the smooth ice cream.
3. Preparing Your Ice Cream Base
The foundation of great ice cream starts with a high-quality base. Whether you’re making classic vanilla ice cream or experimenting with other flavors, the base recipe is essential to achieving a creamy texture and balanced flavor.
Basic Vanilla Ice Cream Base Recipe:
Ingredients:
- 2 cups whole milk
- 1 ½ cups sugar
- 4 cups heavy cream
- 2 teaspoons vanilla extract
Instructions:
- In a large mixing bowl, whisk together the milk and sugar until the sugar is completely dissolved. This ensures the ice cream will have a smooth texture.
- Stir in the heavy cream and vanilla extract.
- Refrigerate the mixture for at least 2 hours, preferably overnight, to ensure that it’s cold when added to the ice cream maker.
For vegan alternatives, you can substitute the dairy with coconut milk, almond milk, or oat milk. For more vegan inspiration, check out this vegan ice cream recipe by Minimalist Baker.
4. Assembling the Ice Cream Maker
Once your base is ready and the freezer bowl is properly frozen, it’s time to assemble the machine. Assembling the ice cream maker correctly is key to a smooth churning process.
How to Assemble Your Cuisinart Ice Cream Maker:
- Remove the freezer bowl from the freezer and place it on the motor base.
- Insert the mixing paddle into the center of the bowl.
- Secure the lid with spout onto the bowl. The spout allows you to add mix-ins later without stopping the machine.
- Turn on the machine before pouring in the ice cream mixture. This ensures the mixture starts churning immediately and doesn’t freeze to the sides of the bowl.
Proper assembly ensures that the ice cream maker churns evenly and prevents any issues during the freezing process.
5. Churning the Ice Cream
Once your ice cream maker is assembled, it’s time to start the churning process. The churning action incorporates air into the mixture while it freezes, giving the ice cream its signature creamy texture.
How to Churn the Ice Cream:
- With the machine running, slowly pour the chilled ice cream base into the freezer bowl through the spout.
- Let the machine churn the mixture for 20–25 minutes. During this time, the ice cream will begin to thicken and turn into a soft-serve consistency.
- If you prefer a firmer texture, transfer the churned ice cream to an airtight container and place it in the freezer for an additional 2–3 hours.
Consistency Tips:
- For soft-serve consistency: Your ice cream is ready to eat after 20–25 minutes of churning.
- For firmer ice cream: Allow it to freeze for a few extra hours.
6. Adding Mix-ins for Enhanced Flavor
Adding mix-ins like chocolate chips, fruits, or cookie crumbles can enhance the flavor and texture of your homemade ice cream. The key is to add these extras at the right time to avoid interfering with the churning process.
When to Add Mix-ins:
- Add mix-ins during the last 5 minutes of churning to ensure they are evenly distributed without sinking to the bottom.
- For ingredients like fudge or caramel swirls, you can fold them in after the ice cream has been transferred to the storage container.
Looking for a treat to serve with your ice cream? Pair it with some Brookies, a decadent combination of brownies and cookies, for an indulgent dessert experience.
7. Storing Homemade Ice Cream
Proper storage is key to maintaining the creamy texture of your ice cream. Here are some tips for storing your homemade ice cream:
Storage Tips:
- Transfer the ice cream to a shallow, airtight container. Shallow containers allow the ice cream to freeze more evenly.
- Press plastic wrap directly onto the surface of the ice cream to prevent ice crystals from forming.
- Store the ice cream in the coldest part of your freezer for up to two weeks.
For best results, consume your homemade ice cream within 1–2 weeks, as homemade ice cream lacks the preservatives that keep store-bought ice cream fresh for longer periods.
8. Cleaning and Maintaining Your Cuisinart Ice Cream Maker
Once you’ve enjoyed your ice cream, it’s important to clean your machine properly. Regular cleaning and maintenance ensure that your ice cream maker lasts for years and remains in good working condition.
How to Clean Your Cuisinart Ice Cream Maker:
- Unplug the machine and disassemble the parts.
- Wash the freezer bowl, paddle, and lid with warm, soapy water. Avoid submerging the motor base in water.
- Dry the parts thoroughly before storing them to prevent moisture from damaging the machine.
- Store the freezer bowl in your freezer so it’s always ready for the next use.
9. Advanced Techniques for Making Ice Cream
Once you’ve mastered the basics of using your Cuisinart ice cream maker, you can experiment with advanced techniques to elevate your ice cream-making skills.
Swirls and Ribbons:
- Add ribbons of caramel, fudge, or fruit puree by swirling them into the ice cream during the last few minutes of churning or after transferring it to the storage container.
- Use a spoon or spatula to gently fold in the swirl, creating a beautiful marbled effect.
Layered Ice Cream:
- Alternate between different ice cream flavors when transferring your ice cream to a container. This technique creates a layered effect, adding both visual appeal and flavor variety.
Dairy-Free Ice Cream:
- Experiment with different dairy-free bases like coconut milk, almond milk, or oat milk for a rich and creamy vegan version. You can also try adding cashew cream or soy milk for variety. For more dairy-free ideas, check out this vegan ice cream recipe.
10. FAQs About Using a Cuisinart Ice Cream Maker
How long does it take to make ice cream in a Cuisinart ice cream maker?
On average, it takes about 20–30 minutes for the ice cream to churn to a soft-serve consistency. If you prefer a firmer texture, freeze the ice cream for an additional 2–3 hours after churning.
Why isn’t my ice cream freezing properly?
If your ice cream isn’t setting, it’s likely because the freezer bowl wasn’t frozen long enough or the ice cream base wasn’t sufficiently chilled. Ensure the bowl is frozen for at least 12–24 hours, and refrigerate the ice cream mixture for at least 2 hours before churning.
Can I make other frozen desserts in a Cuisinart ice cream maker?
Yes! You can also make sorbet, frozen yogurt, and gelato in a Cuisinart ice cream maker. Simply adjust the ingredients and churning time according to the recipe.
11. Troubleshooting Common Ice Cream-Making Issues
Even with the best preparation, you may encounter some challenges while making ice cream. Here are a few common issues and how to fix them:
Ice Cream Too Soft:
- The freezer bowl may not have been frozen long enough. Ensure the bowl is frozen for 12–24 hours before use.
- The ice cream base may not have been chilled enough. Chill the mixture in the refrigerator for at least 2 hours before churning.
Ice Cream Too Hard:
- If your ice cream becomes too hard after being in the freezer, let it sit at room temperature for 5–10 minutes before serving to soften.
12. Conclusion: Time to Start Churning
Making homemade ice cream with a Cuisinart ice cream maker is a fun, easy, and rewarding process. Whether you’re sticking to classic flavors or experimenting with creative mix-ins, this guide covers all the essential steps to ensure success. By following these instructions, you can churn out delicious ice cream in no time.
To make your ice cream experience even more indulgent, serve it with Brookies or a Pumpkin Banana Loaf for the ultimate dessert combination. Now, it’s time to start churning and get creative with your flavors!


