The Ultimate Guide on How to Use a Cuisinart Ice Cream Maker
If you’ve ever dreamt of making ice cream at home that tastes just as good (or even better) than store-bought varieties, you’re in the right place. Owning a Cuisinart Ice Cream Maker gives you the power to make delicious, customizable frozen desserts from the comfort of your kitchen. Whether you’re a novice or an experienced ice cream maker, this guide will take you through everything you need to know about using this versatile machine.
From understanding its components to troubleshooting common problems, this step-by-step guide covers it all. Additionally, we’ll share expert tips, flavor customization ideas, recipes, and insights into how to store and maintain your ice cream maker properly. If you’re eager to explore more creative recipes, you can check out Cuisinart Ice Cream Maker Recipes for endless inspiration.
What Makes a Cuisinart Ice Cream Maker So Special?
Before we dive into the nuts and bolts of using the machine, let’s explore what makes the Cuisinart Ice Cream Maker stand out. It’s widely popular for several reasons:
- Ease of Use: The Cuisinart Ice Cream Maker is designed to be simple, making it easy for beginners and pros alike. With a user-friendly interface, even first-time users can confidently make ice cream with little to no technical difficulties.
- Fast Freezing: Depending on the model, the ice cream maker can churn out fresh ice cream in as little as 15-20 minutes. The fast-freezing bowl quickly brings your ingredients to the perfect texture.
- Customizable Recipes: Whether you’re in the mood for classic vanilla or adventurous flavors like mango coconut sorbet, the machine’s flexibility allows you to experiment with endless recipes.
- Versatility: Beyond ice cream, the Cuisinart Ice Cream Maker can also be used to make frozen yogurt, gelato, and sorbet.
With the right tools and knowledge, your homemade ice cream can rival any premium brand. Let’s start by getting familiar with your machine’s parts.
The Key Components of Your Cuisinart Ice Cream Maker
Each component of the Cuisinart Ice Cream Maker plays an essential role in creating that creamy, smooth ice cream you’re aiming for. To make the process as seamless as possible, let’s review each part and its function.
- Freezer Bowl: The heart of the machine, this bowl is filled with a special liquid that freezes solid when placed in your freezer for 16-24 hours. This liquid ensures the even freezing of your ice cream mixture. Always make sure it’s fully frozen before you begin churning, as a partially frozen bowl will result in ice cream that’s too soft or doesn’t freeze at all.
- Mixing Paddle: The paddle is what churns the mixture, ensuring air is incorporated and the ice cream is properly blended. The key to creamy ice cream is the paddle’s ability to continually mix the ingredients without allowing them to freeze into solid ice.
- Motor Base: This is where the motor resides, powering the paddle and ensuring a smooth, consistent churning process. The motor should remain stable and quiet during operation.
- Lid: The lid helps secure the mixing bowl and contains a small opening, allowing you to add ingredients like mix-ins (fruit, chocolate chips, nuts, etc.) without having to stop the machine.
By understanding how each component works, you can better troubleshoot problems and ensure your machine is always running efficiently. Ready to get started?
How to Use a Cuisinart Ice Cream Maker: A Step-by-Step Guide
Making ice cream with a Cuisinart Ice Cream Maker can be a straightforward process, but attention to detail is important to get that perfect, creamy consistency. Follow these steps, and you’ll be making delicious ice cream in no time.
1. Freeze the Bowl
One of the most critical steps is ensuring the freezer bowl is frozen solid before you start. For optimal results, place the bowl in the freezer for at least 16-24 hours. If possible, keep your freezer set at 0°F (-18°C) or lower to ensure the bowl freezes thoroughly.
Pro Tip: Always store your freezer bowl in the freezer between uses. This way, it’s ready whenever you want to whip up a batch of ice cream. Keeping it wrapped in plastic can help prevent it from absorbing unwanted freezer odors.
2. Prepare the Ingredients
While your bowl is freezing, take the time to prepare your ingredients. A basic vanilla ice cream recipe is always a good starting point:
Ingredients for Classic Vanilla Ice Cream:
- 2 cups heavy cream
- 1 cup whole milk
- 3/4 cup granulated sugar
- 2 teaspoons vanilla extract
Instructions:
- Mix the Ingredients: In a medium-sized bowl, whisk together the sugar and milk until the sugar dissolves completely.
- Add the Cream and Vanilla: Stir in the heavy cream and vanilla extract. Make sure not to whip the mixture too much; you just want it combined. Over-whipping will incorporate unnecessary air, leading to a less creamy result.
- Chill the Mixture: For best results, refrigerate the ice cream base for about an hour. This ensures that it is cold before it hits the freezer bowl, which helps the ice cream freeze faster.
If you want to explore different flavors, here’s a guide to customizing your base with mix-ins and flavor variations: Cuisinart Ice Cream Maker Recipes.
3. Assemble the Machine
Once your freezer bowl is frozen, remove it from the freezer and place it in the motor base. Attach the mixing paddle and secure the lid. Ensuring all the components are properly assembled is key to a smooth process. Misaligning the paddle or lid can lead to poor mixing or churning.
4. Turn on the Machine
Before adding your ice cream mixture, turn the machine on. By starting the machine first, you ensure that the paddle begins to churn immediately when the ingredients are poured in. This helps prevent the mixture from freezing unevenly or sticking to the sides of the bowl.
5. Add the Mixture
With the machine running, slowly pour your prepared ice cream mixture into the bowl. The continuous motion of the paddle will start incorporating air into the mixture, helping it freeze evenly. Make sure to pour slowly to avoid splashing or overflowing.
6. Churn the Ice Cream
Allow the machine to churn for about 15-20 minutes. During this time, you’ll notice the ice cream thickening. Depending on the recipe and your machine’s model, the exact time may vary, but most mixtures will be ready within this timeframe.
Note: The ice cream will have a soft-serve consistency when it’s done churning. If you prefer firmer ice cream, you can transfer it to an airtight container and freeze it for another 2-3 hours.
7. Add Mix-Ins
If you plan on adding extras like cookie chunks, chocolate chips, or fruit, do so during the last few minutes of churning. The opening in the lid allows you to add mix-ins without stopping the machine. Just be sure to add them gradually so they mix evenly into the ice cream.
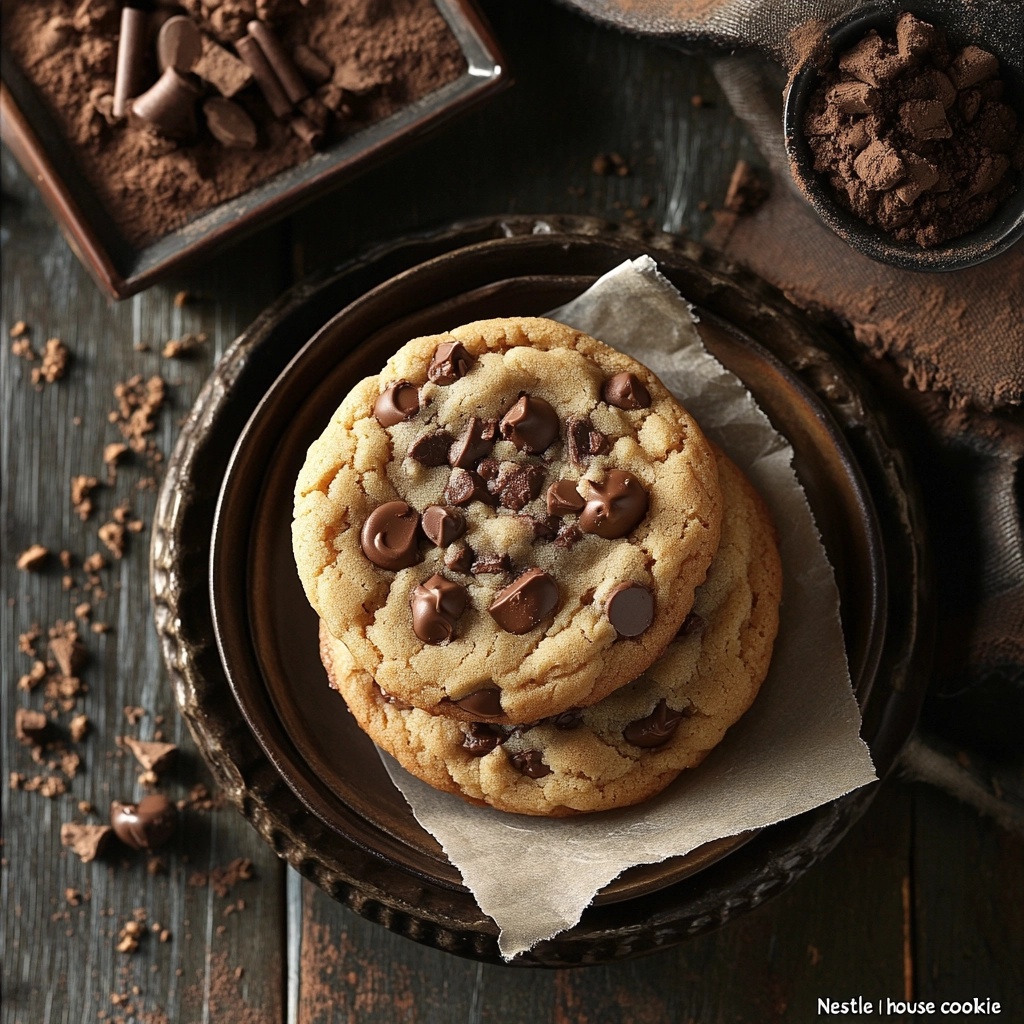
For delicious mix-in ideas, check out this Ultimate Cookie Dough Recipe to add a delightful twist to your ice cream.
Classic Vanilla Ice Cream Recipe: A Perfect Starting Point
Vanilla ice cream is not only a classic but also a blank canvas for creative flavor additions. You can enjoy it as is or jazz it up with your favorite mix-ins and toppings. Here’s a simple recipe to get you started:
Ingredients:
- 2 cups heavy cream
- 1 cup whole milk
- 3/4 cup sugar
- 2 teaspoons vanilla extract
Directions:
- Whisk the Milk and Sugar: Combine the milk and sugar in a medium bowl, whisking until the sugar dissolves.
- Add Cream and Vanilla: Stir in the heavy cream and vanilla extract. Ensure the ingredients are well-blended, but don’t over-whisk.
- Pour into the Machine: With the machine running, pour the mixture into the freezer bowl.
- Churn for 15-20 Minutes: Let the machine churn until the ice cream reaches a soft-serve consistency.
- Freeze for Firmer Texture: For firmer ice cream, transfer it to a container and freeze for an additional 2-3 hours before serving.
This recipe is a fantastic base for more complex ice cream creations. Want to add some excitement to this vanilla base? You can try fresh strawberries, chocolate chunks, or cookie crumbles during the last few minutes of churning. For more creative recipes, check out Cuisinart Ice Cream Maker Recipes.
Customizing Your Ice Cream: Flavor Ideas and Variations
One of the best things about using a Cuisinart Ice Cream Maker is the flexibility to create endless flavor combinations. Whether you like fruity flavors, chocolatey delights, or decadent swirls, here are some ideas for getting creative with your ice cream base.
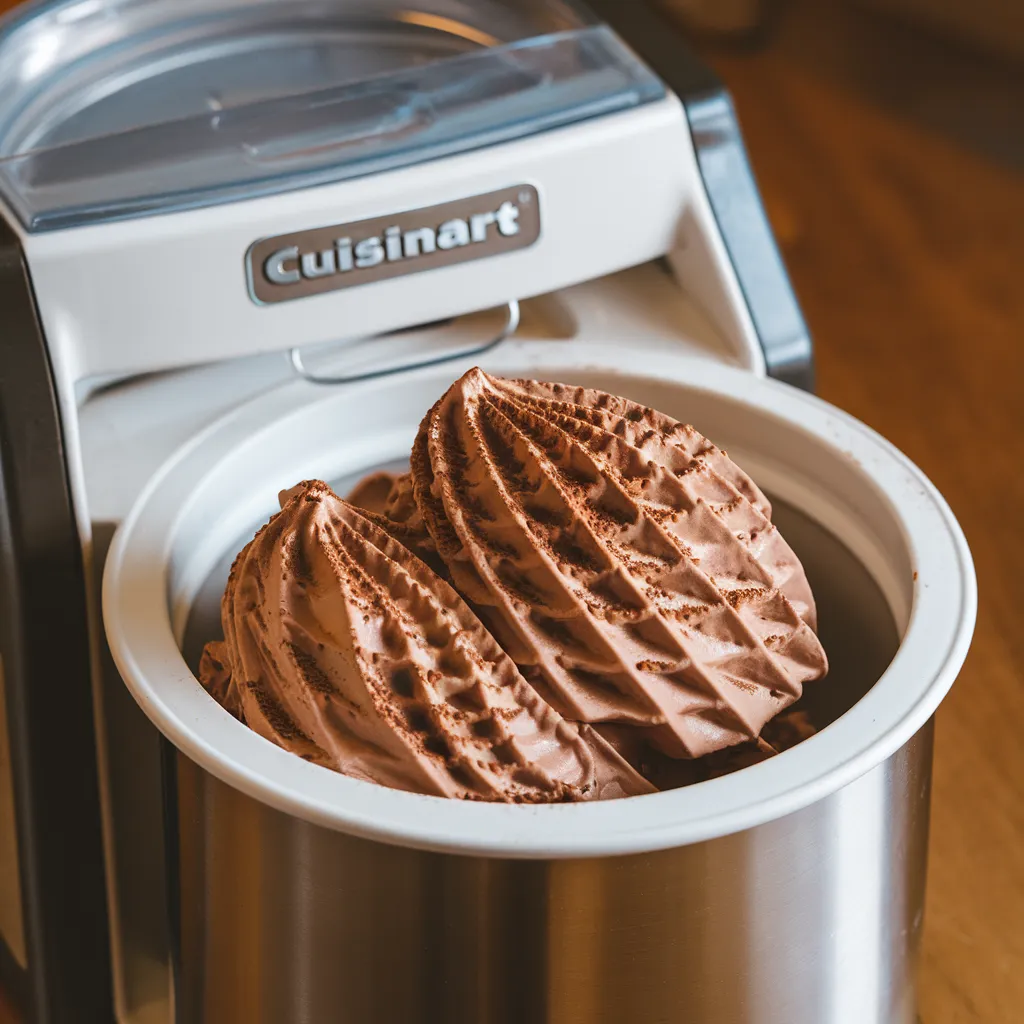
Chocolate Ice Cream
If you’re a chocolate lover, this is a must-try. To transform your vanilla base into a rich chocolate version, you can:
- Add cocoa powder to the mixture before churning.
- Melt some dark chocolate and swirl it into the mixture for a marbled effect.
- Include chocolate chips or brownie chunks for added texture and flavor.
Fruit Mix-Ins
Adding fresh or frozen fruit can take your ice cream to the next level. Some popular fruit options include:
- Strawberries: Add fresh or frozen strawberries in the last few minutes of churning for a burst of flavor.
- Blueberries: These pair beautifully with vanilla ice cream, creating a refreshing and slightly tart contrast.
- Mango: For a tropical twist, swirl mango puree into the base during the last few minutes of churning.
Nut Butter Additions
Love the combination of sweet and salty? Nut butters like peanut butter or almond butter can add richness to your ice cream. You can swirl in nut butter toward the end of the churning process for ribbons of creamy goodness.
Cookies and Brownies
For a fun and indulgent treat, mix in cookie crumbles, brownie bites, or Oreos to create a homemade version of your favorite store-bought flavors. Adding them during the last few minutes of churning will prevent them from getting soggy.
For more ideas and recipes, visit Cuisinart Ice Cream Maker Recipes.
Cleaning and Maintaining Your Cuisinart Ice Cream Maker
Once you’ve enjoyed your delicious homemade ice cream, it’s time to clean your machine. Proper maintenance will keep your Cuisinart Ice Cream Maker in excellent working condition for years to come. Here’s how to clean and care for your machine.
1. Disassemble the Machine
Start by disassembling the machine. Remove the freezer bowl, paddle, and lid from the motor base. Any leftover ice cream should be rinsed off before washing to prevent it from hardening.
2. Wash the Parts
Hand-wash the removable parts in warm, soapy water. The freezer bowl should never be placed in the dishwasher, as the heat could damage the freezing liquid inside. Gently scrub all parts, paying extra attention to any corners or crevices where ice cream might have accumulated.
3. Dry Completely
Make sure all the parts are completely dry before storing them. Any moisture left in the freezer bowl can cause ice crystals to form, which will impact its performance the next time you use it.
4. Store Properly
It’s a good idea to store your freezer bowl in the freezer so it’s always ready for use. This will save you time, and you won’t have to worry about freezing it overnight before making ice cream. Wrap the bowl in plastic to prevent it from absorbing any odors from other foods in the freezer.
For more detailed instructions on cleaning and maintenance, check out Cuisinart Ice Cream Maker Instructions.
Frequently Asked Questions (FAQs)
Here are some frequently asked questions to help you troubleshoot and improve your ice cream-making process.
Q: How long should I freeze the bowl?
A: The freezer bowl should be frozen for at least 16-24 hours to ensure it’s cold enough for proper ice cream consistency.
Q: How long does it take to churn ice cream?
A: Most ice cream recipes take about 15-20 minutes to churn, depending on the ingredients and your specific model.
Q: Can I add mix-ins while the ice cream is churning?
A: Yes! Add mix-ins like chocolate chips, cookie dough, or fruit during the last 5 minutes of churning to ensure they are evenly distributed.
Q: Why is my ice cream too soft?
A: If your ice cream is too soft, the freezer bowl may not have been cold enough. Ensure it was frozen for at least 16-24 hours and that your freezer is set to the correct temperature.
For more answers to common issues, check out Cuisinart Ice Cream Maker Troubleshooting.
Troubleshooting Common Issues
Even with the best preparation, you may encounter some issues while making ice cream. Here’s how to troubleshoot common problems.
- Ice Cream Too Soft: Ensure the freezer bowl was frozen for at least 16-24 hours. Also, make sure the ice cream mixture has chilled adequately before adding it to the machine.
- Ice Crystals: Ice crystals may form if the mixture isn’t cold enough before churning. Using full-fat ingredients like heavy cream and whole milk will also help minimize this issue.
- Machine Won’t Turn On: Double-check that all parts are correctly assembled. If the bowl isn’t securely placed in the motor base, the machine may not turn on.
For additional tips and solutions, refer to Cuisinart Ice Cream Maker Troubleshooting.
Storing Your Homemade Ice Cream
Properly storing your homemade ice cream is essential to maintaining its flavor and texture. Follow these tips for the best results.
Use Airtight Containers
Store your ice cream in airtight containers to prevent freezer burn and keep it fresh. Freezer burn can ruin the texture, making it icy and unpleasant to eat.
Cover the Surface
Before sealing the container, place a piece of parchment paper directly on the surface of the ice cream. This reduces air exposure, which can lead to the formation of ice crystals.
Store in the Coldest Part of the Freezer
To keep your ice cream at its best, store it in the back of the freezer, where the temperature is most consistent.
Conclusion: Start Making Homemade Ice Cream Like a Pro
Using a Cuisinart Ice Cream Maker opens up a world of possibilities when it comes to making homemade frozen desserts. Whether you’re a fan of classic vanilla or adventurous flavors like mango or peanut butter swirl, this versatile machine allows you to create endless combinations tailored to your taste.
With the step-by-step instructions and tips in this guide, you now have everything you need to make delicious, creamy ice cream at home. Experiment with different flavors, try new mix-ins, and make the most of your Cuisinart Ice Cream Maker. For more recipe ideas and inspiration, check out Cuisinart Ice Cream Maker Recipes.
Enjoy your homemade creations, and happy churning!

