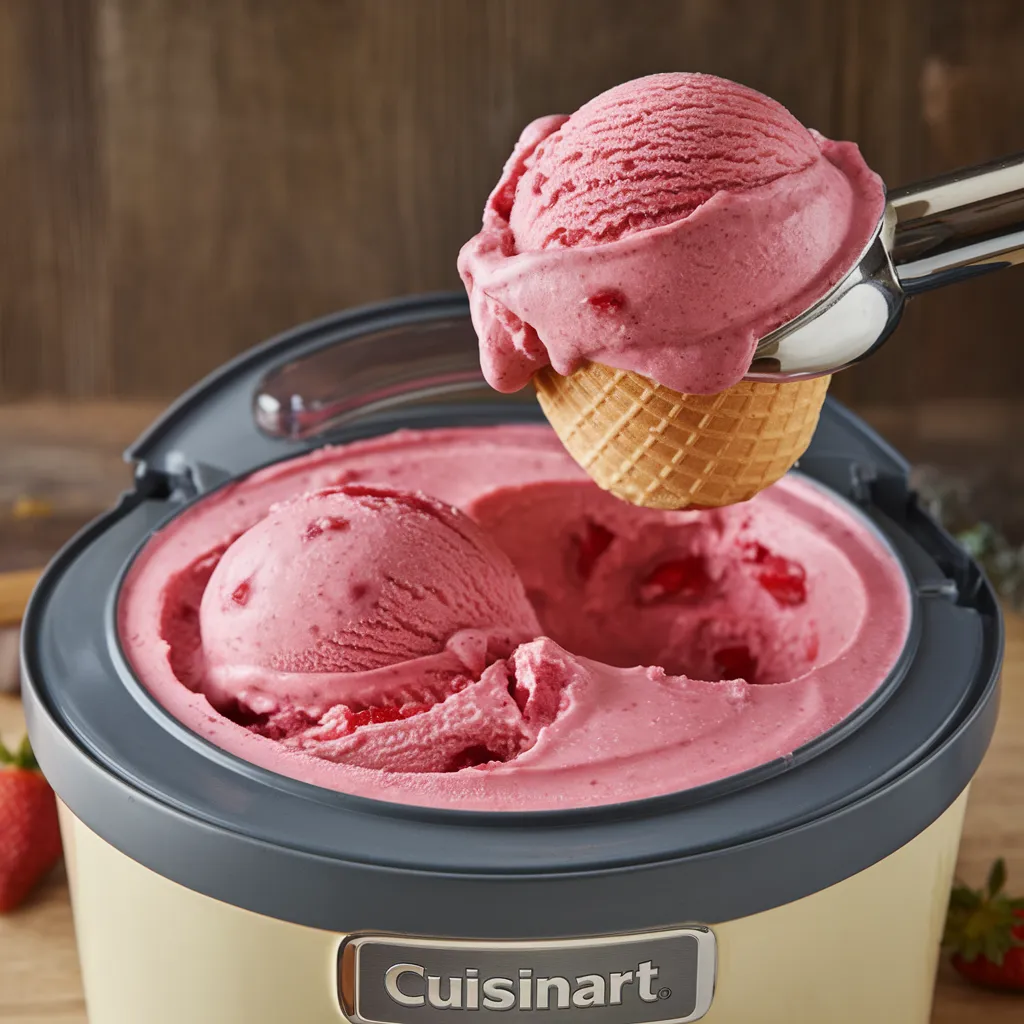
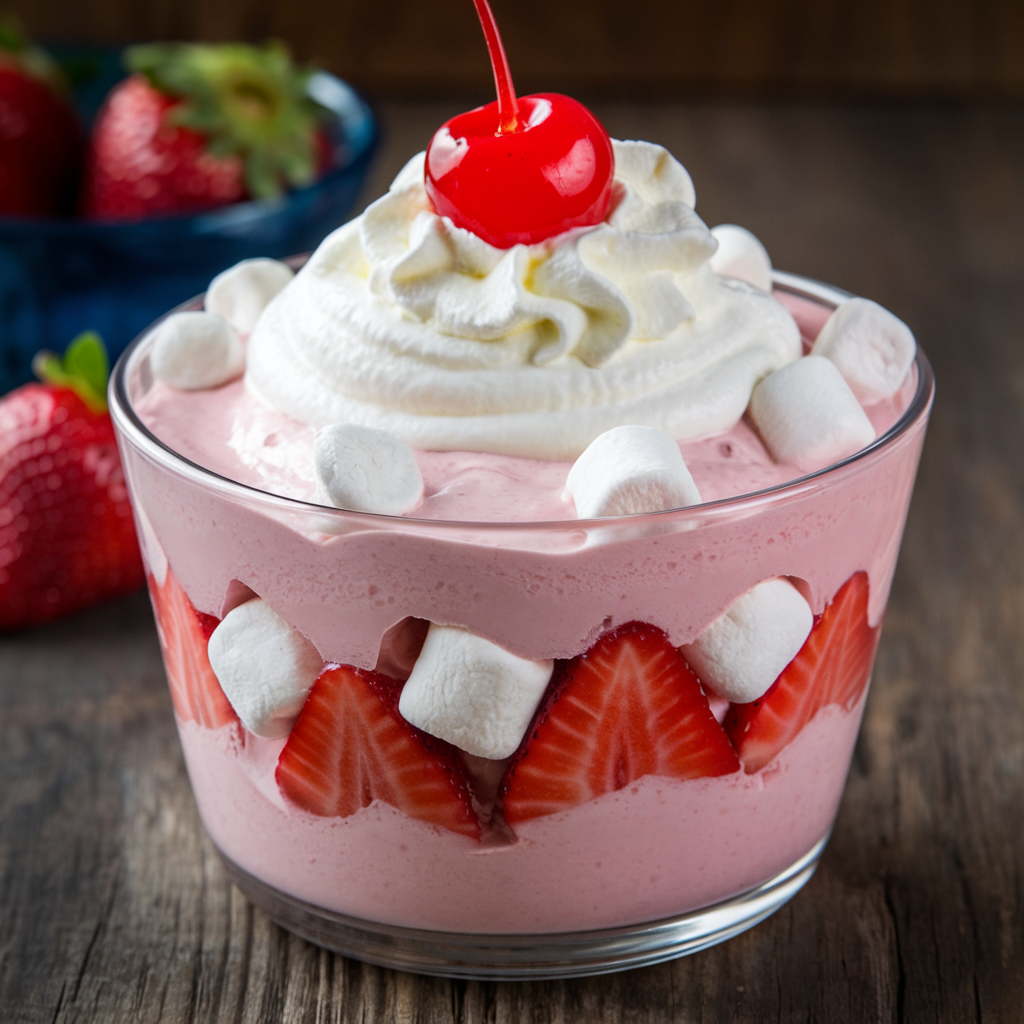
How to Use a Cuisinart Ice Cream Maker: The Ultimate Guide for Perfect Homemade Ice Cream
There’s nothing quite as satisfying as enjoying a bowl of homemade ice cream, especially when it’s crafted exactly the way you like it. Using a Cuisinart ice cream maker can elevate your ice cream-making experience, allowing you to control ingredients, experiment with flavors, and even create healthier or dietary-specific options like vegan or sugar-free ice cream. In this guide, we’ll walk you through how to use your Cuisinart ice cream maker properly, ensuring every step—from preparing the base to churning—leads to creamy, delicious results.
We’ll cover everything you need to know, including how to freeze your ice cream correctly to avoid common problems like ice crystals. You can read more about the science behind freezing your ice cream base in this Serious Eats article on freezing tips. And if you’re searching for dessert pairings, look no further than the delicious Pumpkin Banana Loaf from Lilia Recipes.
1. Components of a Cuisinart Ice Cream Maker
Understanding the components of your Cuisinart ice cream maker will help you get the most out of it and ensure the machine operates smoothly. Each part plays an essential role in turning your ingredients into creamy ice cream.
Key Components:
- Freezer Bowl: This is one of the most crucial parts. It contains a cooling liquid sealed within its walls, which freezes the mixture as it churns. The bowl needs to be frozen for at least 12–24 hours before use.
- Mixing Paddle: The paddle stirs the ice cream mixture continuously while air is incorporated, resulting in a light and fluffy texture.
- Motor Base: This powers the mixing paddle and helps keep the bowl moving as the ice cream freezes.
- Lid with Spout: This lid allows you to pour your base into the machine without stopping the churning process. You can also add mix-ins through the spout as the ice cream churns.
Once you understand how these parts work together, you’ll be set for a smooth ice cream-making process.
2. Freezing the Freezer Bowl: The Key to Creamy Ice Cream
Freezing the freezer bowl properly is one of the most important steps in making homemade ice cream. If the bowl isn’t cold enough, the mixture won’t freeze effectively, resulting in soupy or icy ice cream.
How to Freeze the Bowl Correctly:
- Store the freezer bowl in your freezer at all times, so it’s ready when you are. Keeping it in the coldest part of the freezer helps it freeze faster and more evenly.
- Freeze the bowl for 12–24 hours before use. If it’s not frozen solid, you won’t hear the usual sloshing of the cooling liquid inside.
- A well-frozen bowl will help your ice cream freeze quickly and evenly, preventing ice crystals from forming.
Tip:
If your ice cream turns out icy or fails to freeze properly, refer to this guide on freezing ice cream correctly, which explains the science behind freezing and offers additional tips for maintaining texture.
3. Preparing the Ice Cream Base: Classic Vanilla Recipe
A great ice cream recipe starts with a good base. The base determines the texture and flavor of your final product, so it’s crucial to get it right. Let’s start with a simple vanilla ice cream base, which you can customize with different flavors or mix-ins.
Ingredients for Classic Vanilla Ice Cream:
- 2 cups whole milk
- 1 ½ cups sugar
- 4 cups heavy cream
- 2 teaspoons vanilla extract
Instructions:
- Whisk the milk and sugar: In a large mixing bowl, whisk the milk and sugar together until the sugar dissolves completely. A smooth, dissolved sugar ensures a silky texture in your ice cream.
- Add heavy cream and vanilla: Stir in the heavy cream and vanilla extract. Make sure the mixture is well combined.
- Refrigerate: Cover and refrigerate the mixture for at least 2 hours, but ideally overnight. A cold base freezes more evenly, resulting in smoother ice cream.
This basic vanilla recipe serves as a blank canvas, allowing you to add different flavorings or mix-ins later. If you’re looking for dairy-free or vegan options, you can replace the dairy ingredients with coconut or almond milk. Explore this fantastic vegan ice cream recipe for more ideas.
4. Assembling the Cuisinart Ice Cream Maker
Once your ice cream base is chilled and your freezer bowl is thoroughly frozen, it’s time to assemble your Cuisinart ice cream maker. Correct assembly is crucial to ensuring that the machine works properly and that your ice cream churns evenly.
Step-by-Step Assembly:
- Place the freezer bowl on the motor base. Ensure that it sits securely in place.
- Insert the mixing paddle into the center of the bowl.
- Attach the lid with spout onto the bowl. Make sure it’s tightly secured to prevent any spills.
- Turn on the machine before pouring in your ice cream base. This ensures the mixture starts churning immediately and doesn’t freeze to the sides of the bowl.
By following these steps, you’ll guarantee that the ice cream is churned evenly and that the machine functions without interruption.
5. Churning the Ice Cream: How to Get the Perfect Texture
Churning is where the magic happens. The churning process incorporates air into the ice cream, giving it a light and creamy texture. The continuous motion also ensures that the mixture freezes evenly, preventing the formation of large ice crystals.
How to Churn Ice Cream:
- With the machine running, slowly pour your chilled ice cream base into the freezer bowl through the spout.
- Let the machine churn the ice cream for 20–25 minutes, or until it reaches a soft-serve consistency.
- For a firmer texture, transfer the ice cream to an airtight container and freeze for an additional 2–3 hours after churning.
Texture Tips:
- Soft-serve texture: Your ice cream is ready to eat after 20–25 minutes of churning. This texture is perfect if you enjoy softer ice cream.
- Firmer texture: If you prefer a harder, more scoopable consistency, freeze the ice cream for an additional 2–3 hours after churning.
6. Adding Mix-ins: Customizing Your Ice Cream
One of the best parts about making homemade ice cream is customizing it with fun mix-ins. Whether you’re a fan of chocolate chips, fruit, or cookie crumbles, you can add your favorite ingredients to create a unique ice cream experience.
When and How to Add Mix-ins:
- Add mix-ins during the last 5 minutes of churning to ensure they’re evenly distributed without interfering with the freezing process.
- You can get creative with ribbons of caramel or fudge, swirling them in during the last few minutes of churning or gently folding them into the ice cream after churning.
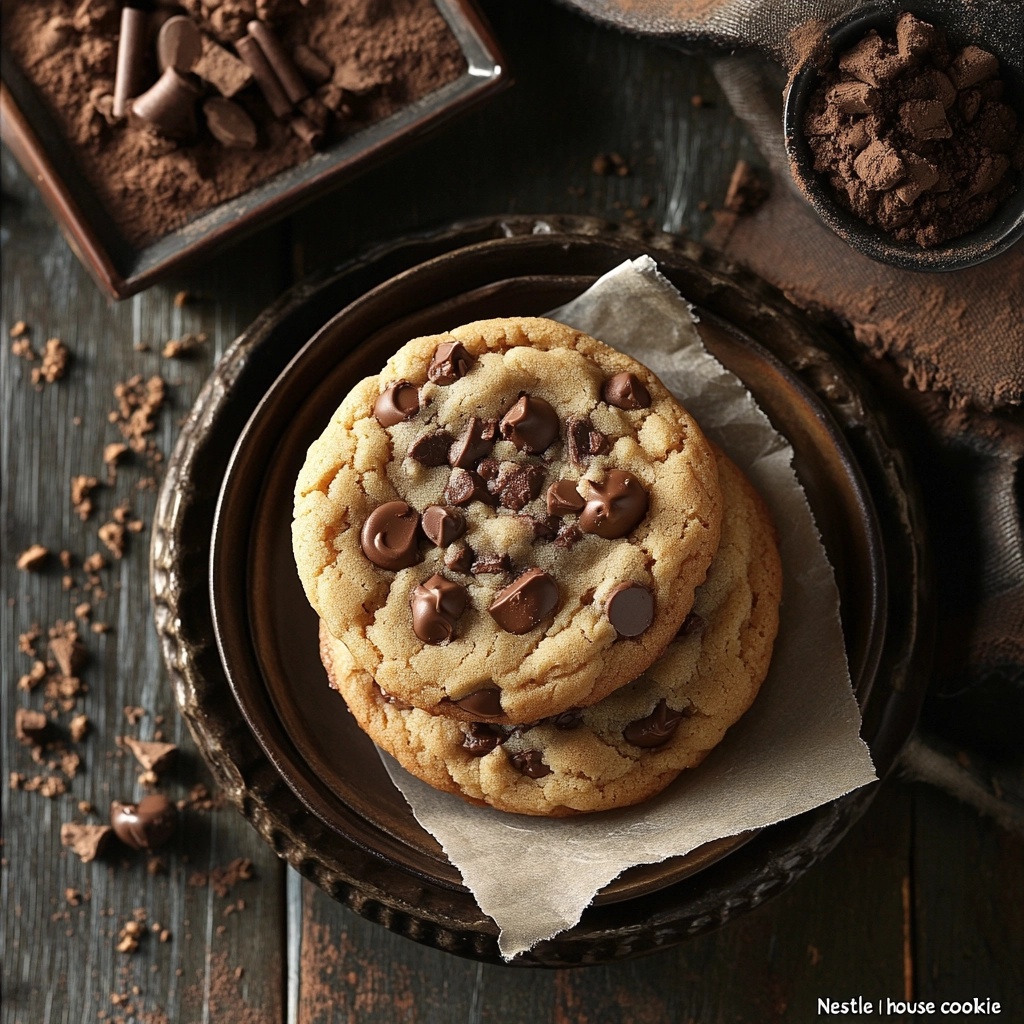
For inspiration, try pairing your ice cream with some delicious Brookies, a delightful combination of brownies and cookies that will add a rich, chewy contrast to your creamy ice cream.
7. Storing Homemade Ice Cream: Avoiding Ice Crystals
After you’ve churned your ice cream, proper storage is essential to preserving its creamy texture. Poor storage can lead to the formation of ice crystals, which can ruin the smoothness of your dessert.
How to Store Ice Cream:
- Transfer the ice cream to a shallow, airtight container. Shallow containers help the ice cream freeze more evenly.
- Press a piece of plastic wrap directly onto the surface of the ice cream. This prevents ice crystals from forming and helps maintain a smooth texture.
- Store the ice cream in the coldest part of your freezer, ideally at the back where the temperature is most consistent.
Shelf Life:
Homemade ice cream is best enjoyed within 1–2 weeks. After this period, the texture may start to degrade due to freezer burn.
To learn more about choosing the right containers, check out this guide on the best containers for storing homemade ice cream.
8. Cleaning and Maintaining Your Cuisinart Ice Cream Maker
Proper cleaning and maintenance of your Cuisinart ice cream maker will ensure it performs well for years to come. After each use, it’s important to clean the machine thoroughly to prevent any residue buildup.
Cleaning Instructions:
- Unplug the machine and disassemble all parts.
- Hand wash the freezer bowl, paddle, and lid with warm, soapy water. Avoid using abrasive sponges that could damage the nonstick surface of the bowl.
- Dry all parts thoroughly before storing them. Any moisture left in the freezer bowl could freeze during the next use and impact the performance of the machine.
Maintaining your machine ensures it continues to deliver smooth and consistent results. Always store your freezer bowl in a dry, clean space, ideally in the freezer so it’s ready for your next batch.
9. Advanced Techniques for Ice Cream Making
Once you’ve mastered the basics, it’s time to experiment with more advanced techniques. You can take your ice cream-making skills to the next level by trying out different methods and ingredients to create truly unique desserts.
Advanced Techniques:
- Custard-Style Ice Cream: Adding egg yolks to your ice cream base creates a richer, creamier texture. To make a custard base, heat the milk and sugar mixture and slowly whisk it into beaten egg yolks before adding heavy cream.
- Vegan and Dairy-Free Ice Cream: Use coconut milk, almond milk, or oat milk as a base for vegan ice cream. Try experimenting with other plant-based ingredients like cashew or soy milk for variety. For inspiration, check out this vegan ice cream recipe.
- Layering Flavors: Create visually stunning ice cream by layering different flavors. For example, you can alternate between vanilla and chocolate layers when transferring the ice cream to a container.
- Gelato and Sorbet: Your Cuisinart ice cream maker isn’t just for ice cream. You can also use it to make gelato, which is traditionally lower in fat than ice cream, or sorbet, a dairy-free frozen dessert made with fruit puree.
10. FAQs: Answering Your Ice Cream Making Questions
How long does it take to make ice cream in a Cuisinart ice cream maker?
It typically takes about 20–25 minutes to churn ice cream to a soft-serve consistency. If you prefer firmer ice cream, allow it to freeze for an additional 2–3 hours after churning.
Why isn’t my ice cream freezing properly?
The most common reason is that the freezer bowl wasn’t frozen long enough. Ensure the bowl has been frozen for 12–24 hours before use, and make sure the ice cream base is fully chilled before churning.
Can I make other frozen desserts in a Cuisinart ice cream maker?
Yes! You can make sorbet, frozen yogurt, and even gelato with your Cuisinart machine. Each type of dessert requires different ingredients and churning times.
What mix-ins work best with homemade ice cream?
Popular mix-ins include chocolate chips, nuts, candy pieces, and fruit chunks. Be sure to add mix-ins during the last 5 minutes of churning to ensure they’re evenly distributed.
11. Troubleshooting Common Ice Cream Making Issues
Even with the best preparation, you may encounter a few hiccups while making ice cream. Here are some common problems and how to fix them:
Ice Cream Not Freezing Properly:
- Solution: Make sure the freezer bowl has been frozen for the full 12–24 hours and that the ice cream base is well chilled before adding it to the machine.
Ice Crystals Forming in Ice Cream:
- Solution: This is often caused by improper freezing. Ensure that the base is chilled before churning, and always press plastic wrap directly onto the surface of the ice cream during storage.
Grainy Texture:
- Solution: A grainy texture can result from over-churning or from not dissolving the sugar fully. Make sure the sugar is fully dissolved in the base mixture before chilling and churning.
Conclusion: Start Churning Your Perfect Homemade Ice Cream
With your Cuisinart ice cream maker, making homemade ice cream becomes a fun and creative process. From understanding the key components of your machine to experimenting with different bases, flavors, and mix-ins, you now have everything you need to create perfect ice cream at home.
Whether you stick with classic flavors or branch out into more adventurous creations, the possibilities are endless. Pair your ice cream with a slice of Pumpkin Banana Loaf or enjoy it with Brookies for an indulgent dessert experience.
Now it’s time to start churning and enjoy your delicious creations! Happy ice cream making!

